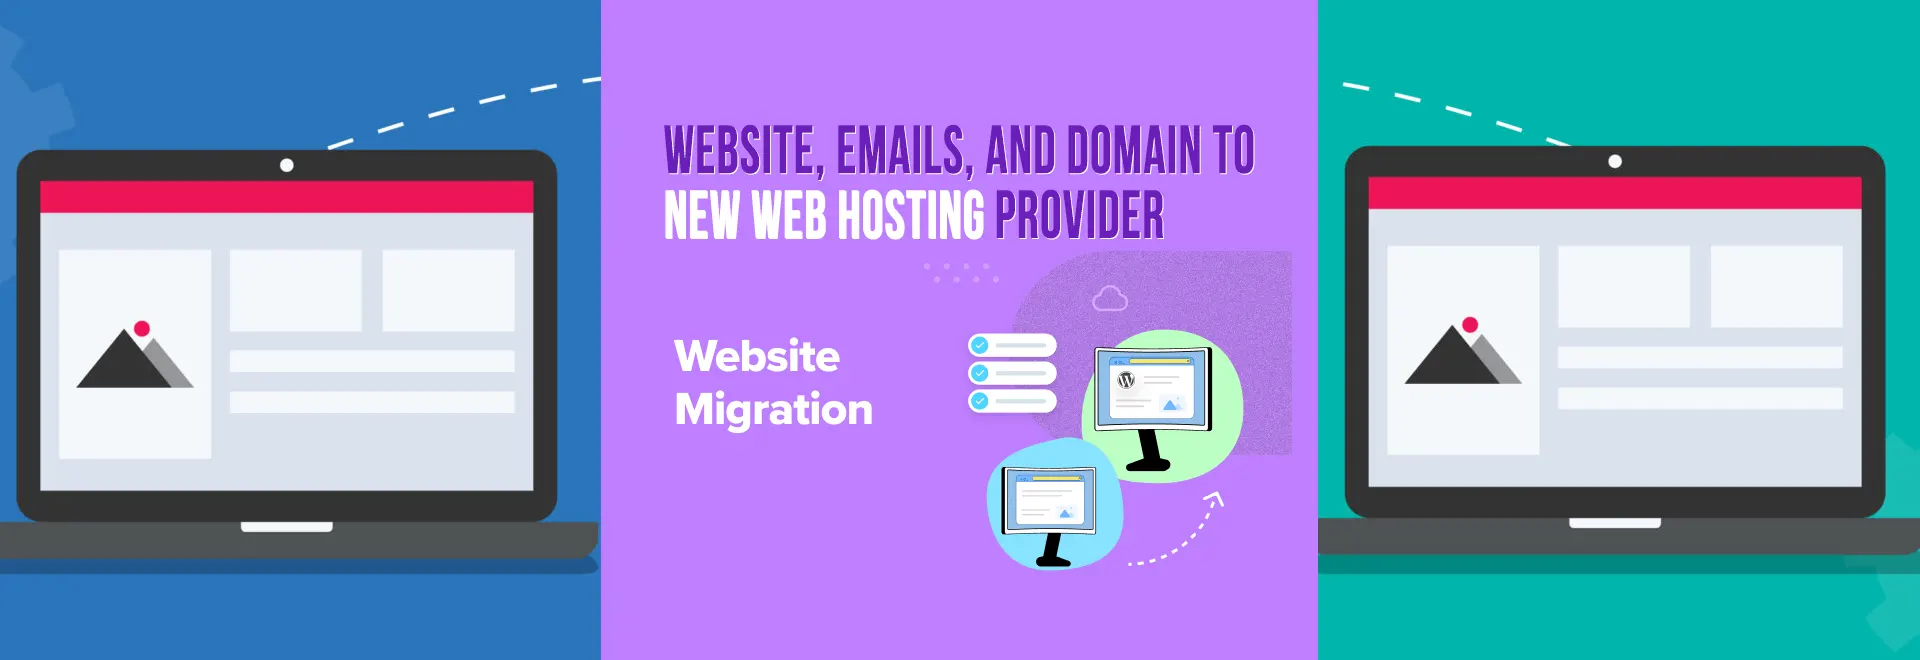
Transfer Your Website, Emails, And Domain To A New Web Hosting Provider
Migrating your website, emails, and domain to a new web hosting provider can be a daunting task, but it doesn’t have to be. In this comprehensive guide, we’ll walk you through the step-by-step process of transferring your entire online presence to a new hosting platform, ensuring a smooth and seamless transition.
Why Migrate to a New Web Hosting Provider?
There are several reasons why you might want to migrate your website, emails, and domain to a new web hosting provider. Perhaps your current provider is too slow, the support is lacking, or the renewal rates are too high. Whatever the case may be, a well-executed migration can provide you with a faster, more reliable, and more cost-effective hosting solution.
Preparing for the Migration
Backing Up Your Website
The first step in the migration process is to create a backup of your current website. This will ensure that you have a complete copy of your site, which can be easily restored on the new hosting platform. You can use a plugin like All-in-One WP Migration to create a full backup of your WordPress website, including your content, settings, and plugins.
- Install and activate the All-in-One WP Migration plugin
- Click on “Export” and select “File” as the export destination
- Download the backup file to your local computer
If your website is larger than 300MB, you can use a free tool like WP Migrate to create the backup.
Backing Up Your Emails
Next, you’ll need to create a backup of your email accounts, including both incoming and outgoing emails. You can do this by using an email client like Microsoft Outlook or Apple Mail. Simply export your email mailboxes to a local file, which can then be imported into your new email account.
- Open your email client and navigate to the email account you want to back up
- Right-click on the inbox and select “Export Mailbox”
- Repeat the process for your sent emails
- Save the exported files to your local computer
Choosing a New Web Hosting Provider
Now that you have backups of your website and emails, it’s time to choose a new web hosting provider. In this example, we’ll be using Hostinger, a popular and affordable web hosting platform that is known for its fast and reliable service.
Why Hostinger?
Hostinger has been consistently ranked as one of the best web hosting providers on the market. With its fast SSD and NVMe storage, user-friendly interface, and excellent customer support, Hostinger is an excellent choice for both new and experienced website owners.
Some of the key features that make Hostinger stand out include:
- Fast and reliable hosting with SSD and NVMe storage options
- Free domain registration and SSL certificates
- Unlimited email accounts and storage
- Automatic daily backups and easy restore options
- Excellent customer support with 24/7 availability
- Affordable pricing plans starting at just $3.99 per month
Hostinger also offers a 30-day money-back guarantee, so you can try their services risk-free.
Migrating Your Website to Hostinger
Setting Up a Temporary Domain
Once you’ve signed up for your Hostinger account, you’ll need to set up a temporary domain to host your migrated website. This will allow you to test the new site and ensure everything is working correctly before pointing your primary domain to the new hosting platform.
Hostinger makes this process easy by providing a free temporary domain during the setup process. Simply follow the prompts to create your new WordPress site and choose the temporary domain option.
Importing Your Website Backup
With your temporary domain in place, it’s time to import your website backup. Log in to your Hostinger dashboard and navigate to the “Websites” section. Click on the “Import” button and select the backup file you created earlier.
Hostinger’s All-in-One WP Migration plugin will handle the rest, quickly and efficiently importing your website to the new hosting environment.
Cleaning Up and Testing the Migrated Site
After the import is complete, you’ll want to clean up your new WordPress installation by deactivating and deleting any unused plugins and pages. This will ensure a clean and optimized site.
Once the cleanup is done, take some time to thoroughly test your migrated website. Check that all pages, posts, and functionality are working as expected. If you encounter any issues, you can use the Hostinger backup and restore tools to quickly revert to a previous version of your site.
Pointing Your Domain to the New Hosting Platform
Connecting Your Domain to Hostinger
With your website successfully migrated, it’s time to point your primary domain to the new hosting platform. In your Hostinger dashboard, navigate to the “Websites” section and click on the “Connect Domain” button.
Enter your domain name and follow the prompts to connect it to your Hostinger account. If your domain is registered with a different provider, you’ll need to update the nameservers at your current registrar to point to Hostinger’s servers.
Transferring Your Domain to Hostinger
For a complete migration, you may also want to consider transferring your domain registration to Hostinger. This will consolidate all of your web hosting and domain management under a single provider, making it easier to manage your online presence.
To transfer your domain, log in to your Hostinger dashboard and navigate to the “Domains” section. Click on the “Transfer” button and follow the instructions to initiate the transfer process. Keep in mind that domain transfers can take several days to complete, but your website will remain live during this time.
Migrating Your Email Accounts
Creating a New Email Account on Hostinger
With your website successfully migrated, it’s time to set up your new email accounts on the Hostinger platform. Log in to your Hostinger dashboard and navigate to the “Emails” section. Click on the “Setup” button to create a new email account using your domain name.
Configuring Your Email Client
Once your new email account is set up, you’ll need to configure your email client (such as Microsoft Outlook or Apple Mail) to access the new account. Use the IMAP server details provided in your Hostinger dashboard to set up the connection, ensuring that your emails, contacts, and calendars are synced across all your devices.
Migrating Your Existing Emails
To migrate your existing emails to the new Hostinger account, simply drag and drop the exported mailbox files from your previous email client into the new account. This will ensure that all your important messages, attachments, and contacts are seamlessly transferred to the new platform.
Verifying Email Synchronization
After the migration is complete, take some time to test the new email setup. Send and receive test messages, flag emails, and delete messages to ensure that all actions are properly synchronized across your email client and the Hostinger webmail interface.
Wrapping Up the Migration
Congratulations! You have successfully migrated your website, emails, and domain to a new web hosting provider. By following the steps outlined in this guide, you’ve ensured a smooth and seamless transition, with minimal downtime and disruption to your online presence.
Remember, if you encounter any issues or have additional questions, Hostinger’s excellent customer support team is available 24/7 to assist you. Additionally, be sure to check out Hostinger’s comprehensive tutorials and resources to make the most of your new hosting platform.
With your website, emails, and domain all under the reliable and fast-performing Hostinger umbrella, you can focus on growing your online business or personal brand with confidence.


